


Ankle sprains are among the most common injuries encountered in both sports and daily activities, often leading many people to neglect the need to consult a Physical Therapist after injury. While this injury can certainly be triaged at home, rehabilitation of the sprained ankle is more nuanced than just applying some ice and resting. The missing link in ankle sprain recovery is up the chain at the hips. Adding hip exercises to your ankle sprain recovery plan is essential for both a quicker recovery and preventing future ankle sprains.
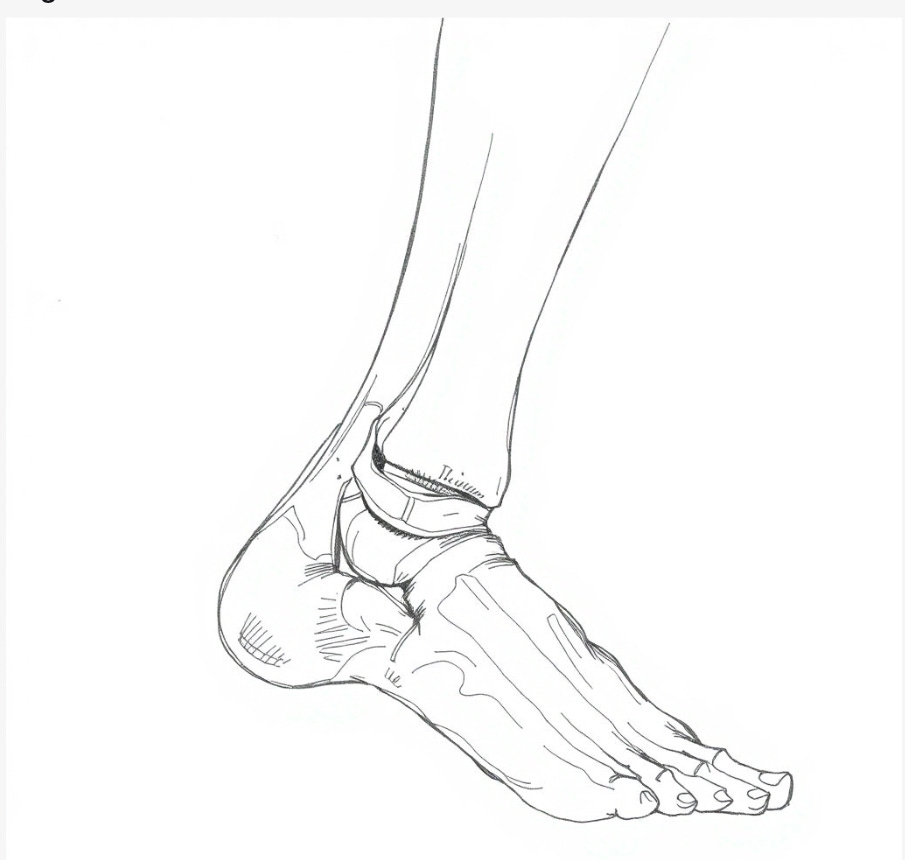
Mechanism of Injury: The most common ankle sprain is called an inversion sprain. Inversion describes the motion of the foot that precedes the sprain, as the foot points inward or inverts. When the foot inverts, it stresses 3 ligaments that collectively attach to the outside ankle bone (lateral malleolus). The anterior talofibular ligament is the ligament most often sprained, given the mechanics of an inversion sprain. But, the calcaneofibular and posterior talofibular ligaments can join in the fun, depending on the angle of the foot when the sprain occurs.
The relative seriousness of an ankle sprain depends on how much damage occurs to one or all of the ligaments on the lateral part of the ankle. Grades of Sprains:
Grade 1 (Mild): The ligaments are stretched slightly but still intact.
Grade 2 (Moderate): Partial tearing of the ligament fibers. This results in some instability and significant pain.
Grade 3 (Severe): Complete tear of the ligament, leading to significant joint instability.
All three grades of an ankle sprain can be treated conservatively, that is to say with the help of a Physical Therapist. However, there are times when a grade 3 ankle sprain requires surgery.
Inversion ankle sprains happen for one reason: our center of gravity (think hips) moves too far laterally outside our base of support, and we can't move our planted foot quickly enough to compensate. The lateral movement forces a rotation of the planted foot relatively inward forcing the ligaments on the outside of the ankle to stabilize the errant motion. When the ligaments are not up for the job, the movement is too powerful for the ligaments to absorb, they stretch and sometimes tear.
Triage: Should you find yourself with an ankle sprain, you can definitely triage it at home. Just follow a simple RICE Protocol:
Rest: Avoid activities that cause pain. Use crutches if needed to keep weight off the ankle.
Ice: Apply ice wrapped in a cloth for 20 minutes every 1-2 hours to help reduce swelling and numb pain.
Compression: Use an elastic bandage or compression wrap to decrease swelling and provide support. Be sure not to wrap too tightly to avoid cutting off circulation.
Elevation: Keep the injured ankle elevated above heart level whenever possible to minimize swelling.
Rehabilitation: If you choose to forgo Physical Therapy, rehabilitating a sprained ankle can be done at home. While the sight of your ankle, swollen and bruised, may be alarming don’t be afraid to start moving it. As the swelling subsides, make sure to gently move the ankle by pointing the toes in a bunch of different directions. I instruct patients to begin, “ankle alphabets,” which entails drawing the alphabet with your big toe.
While the obvious rehabilitation for an ankle sprain will involve direct therapy to the ankle and its surrounding soft-tissue, it would be a mistake to not begin exercising the hip immediately. Injury to the ankle can cause a reflex inhibition where hip musculature becomes less active to avoid further pain or damage. This is known as arthrogenic muscle inhibition (AMI), where proprioceptive feedback from the injured joint leads to decreased muscle activation. The hip musculature, with a focus on the glute medius, needs to be activated with therapeutic exercises as soon as possible following an ankle sprain. Failure to exercise the glute musculature can lead to prolonged musculature inhibition and subsequent repeat ankle sprains.
Hip Strengthening: Luckily, while you are elevating and nursing the sprained ankle you can start re-activating the glute musculature. Begin by performing, “glute sets.” Start by lying on your back with your legs straight. Squeeze your buttocks together and hold for 3-5 seconds. Try that for a few sets of 15 repetitions in order to coordinate the movement. Next try to isolate one glute for a few sets of 15, then repeat on the other side.
Once a few days have passed and your ankle pain and swelling has started to subside, it is time to advance your glute workout with some exercises that compel the glute to move your leg. At this point you want to focus on exercises that are non-weight bearing, called open-chain exercises. These include side-lying leg raises and prone leg raises to name a couple. Because these exercises are non-weight bearing you can get started on them relatively early in the rehabilitation process, getting an early start on reanimating the hip musculature.
Once you can bear weight on your ankle without pain or a feeling of instability, it is time to add some lateral movements to your ankle rehab. I like to start my patients with lateral steps. Then after a couple of weeks, add some resistance to this exercise. The logical exercise progression after lateral steps, is to start performing exercises on one leg. The next step is to add dynamic single legged exercises into the mix. These types of exercises are not only relevant to the later stages of an ankle sprain rehabilitation program, but they are essential to ankle sprain prevention.
In conclusion, while ankle sprains might seem straightforward, their proper management and rehabilitation extend beyond the immediate RICE protocol. Full recovery and prevention of future injury necessitates a holistic approach that includes not just the ankle but also the hip. Strengthening the glutes and incorporating hip-focused exercises into your recovery regimen can significantly enhance stability, reduce recovery time, and prevent re-injury by addressing the biomechanical imbalances that often contribute to ankle sprains.